
Quick Summary
This guide explains how to fix sagging wooden gate issues caused by wood moisture fluctuations, frame racking, worn hardware, and shifting hinge posts. Ironworks Gate Co. details essential diagnostic checks and mechanical solutions, demonstrating how to restore square alignment using upgraded hinge fasteners, diagonal wooden bracing, or tension-based turnbuckle kits. Readers will be able to implement practical frame adjustments immediately or determine if severe post rot warrants calling (747) 277-8422 for professional structural repair.
Practical Guidance on Sagging Wooden Gates and Wood Moisture Considerations
Note: The following diagnostic and repair steps are provided as general practical guidance.
Safety Warning: Always securely support or prop the gate during inspection and maintenance to prevent unexpected movement, collapse, or injury. See also Automatic Gate Troubleshooting – Call Now-10% Off – Same-Day Service – Free Estimate.
As general practical guidance from Ironworks Gate Co., a wooden gate that drags or fails to latch properly is often attributed to the gate leaf racking out of square, hardware wear, or hinge post movement.[2]
Wood performance is tied directly to moisture. According to the USDA Wood Handbook, standard softwood framing lumber is dried to an average moisture content of about 15% with a maximum of 19%, while exterior trim and siding products are typically installed at an average of 12% moisture (ranging from 9% to 14%). When outdoor lumber absorbs excessive water, its moisture content can rise above 25%, which creates conditions favorable to fungal attack or decay. Protecting joint ends from standing water and ensuring adequate airflow helps keep wood moisture below the 20% decay threshold and promotes dimensional stability.[1]
General Practical Diagnostics: Inspecting Gate Alignment
As general practical guidance, gate alignment issues are commonly checked across three areas:
- Hinge Post Movement: The post may lean due to soil movement or footing issues. A rotten, loose, or displaced hinge post may require professional assessment.
- Gate Leaf Racking: The rectangular frame may shift out of square, lowering the latch-side corner.
- Hinge and Fastener Wear: Screws or hinges may loosen over time.
General Inspection Checks
Common practical inspection steps include:
- Check the post: Use a level on the hinge post to check if it has shifted out of plumb.
- Check the frame: Check the horizontal rails with a level to see if the frame has racked downward toward the latch.
- Inspect the hinges: Look for play between the hinge leaf and the wood when the latch side is gently lifted.
General Tools and Materials
Common tools and materials used for gate maintenance include:
- Spirit level and tape measure
- Drill and driver bits
- Wrench or socket set
- Pry bar and support blocks or shims
- Exterior wood fasteners
- Gate anti-sag kit or framing lumber for bracing
- Concrete and gravel (if addressing post footings)
Step 1: Checking Diagonal Measurements and Post Position
To check if a rectangular frame is out of square, practical guidance suggests measuring diagonally from corner to corner:
- Measure from the top hinge corner to the bottom latch corner.
- Measure from the top latch corner to the bottom hinge corner.
- Compare the measurements. Unequal diagonals indicate that the frame has racked out of square.
Inspect the base of the hinge post where it meets the ground for visible shifting or deterioration. A rotten, loose, or displaced hinge post may require professional assessment.
Step 2: Inspecting and Securing Gate Hinges
When hinge fasteners are loose, practical maintenance steps include:
- Support the gate: Prop the gate securely to relieve weight from the hinges before servicing hardware.
- Remove damaged fasteners: Back out loose or stripped screws from the hinge.
- Install exterior fasteners: Drive appropriate exterior-grade screws or lag fasteners firmly into sound wood.
- Check hinge size: Ensure hinges are adequately sized to distribute the load across the frame.
Step 3: Tension-Based Anti-Sag Kits
Need how to fix sagging wooden gate?
We’re available now - call for a fast, free estimate.
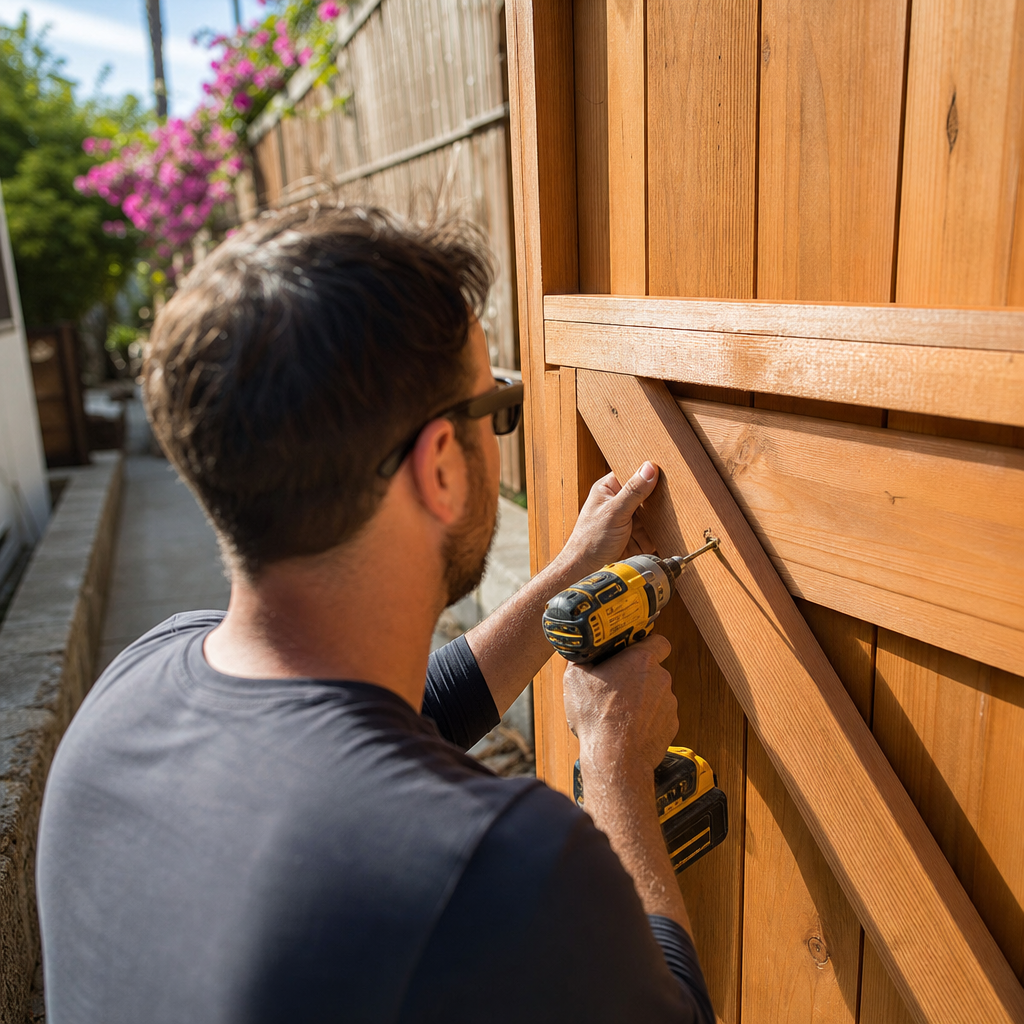
Turnbuckle and cable kits are sometimes used, as noted by Ironworks Gate Co., to help pull a racked gate frame back into alignment.
- Mount the brackets: Attach mounting brackets diagonally across the frame corners.
- Connect cable and turnbuckle: Thread the cable through the extended turnbuckle and secure the ends with clamps.
- Adjust tension: Rotate the turnbuckle to apply tension and adjust frame alignment as needed.
Step 4: Diagonal Wooden Bracing
Diagonal lumber bracing is another common method used to reinforce gate frames.
Brace Orientation Note
While trade practices often recommend running a solid wooden brace from the bottom hinge corner upward to the top latch corner, the research brief does not provide an acceptable neutral source verifying the recommended orientation.[3]
| Brace Type | Reported Orientation | Operating Mechanism | Common Application |
|---|---|---|---|
| Solid Wood Brace | Bottom hinge to top latch (unverified by neutral source) | Compression | Wood frame gates |
| Anti-Sag Cable Kit | Top hinge to bottom latch | Tension | Adjustable maintenance |
| Steel Frame Insert | Full perimeter frame | Rigid support | Heavy or automated gates |
General Installation Steps
- Support the gate securely in a square position.
- Fit framing lumber diagonally across the horizontal rails.
- Mark and cut miter angles to fit between the rails.
- Secure the brace using appropriate exterior fasteners.
Step 5: Addressing a Leaning Post
A rotten, loose, or displaced hinge post may require professional assessment. In general DIY guidance, the following steps are sometimes taken:
- Remove gate leaf: Take down the gate to remove weight from the post.
- Excavate around the post: Clear soil around the footing to allow realignment.
- Realign to plumb: Pull the post back to plumb and brace it temporarily.
- Reinforce footing: Pour concrete around the base, sloping the top surface away from the post to promote drainage. Shedding water helps prevent moisture levels from exceeding 25%, which creates conditions favorable to fungal attack or decay. Allow the concrete to set thoroughly before rehanging the gate.
Step 6: Considerations for Heavy or Automated Gates
Heavy or automated gates experience distinct mechanical demands:
- Gate Wheels: A support wheel attached to the latch side can help carry outer weight on broad spans.
- Reinforcing for Automatic Openers: Automatic operators concentrate dynamic forces at mounting points; framing reinforcement helps distribute these loads.
- Manual Release: Automated systems should have a functioning manual release mechanism for power outages or mechanical failures.
Repair vs. Replacement Considerations
Depending on the condition of the materials, as Ironworks Gate Co. points out, some sagging gates can be realigned, while others require partial or complete rebuilding. Replacement or professional assessment is generally warranted if:
- The hinge post shows significant wood decay or structural displacement.
- Main framing members are cracked, severely warped, or split.
- Joints have decayed to the point where fasteners no longer hold.
Frequently Asked Questions About Sagging Wooden Gates
Can a gate be adjusted without replacing the post?
If the post is structurally sound, plumb, and free of decay, realignment can often be addressed through hinge adjustment, bracing, or tension kits. If the post is rotten, loose, or displaced, it may require professional assessment or replacement.[5]
What factors contribute to gate sagging?
Cantilevered weight, seasonal moisture cycles affecting dimensional stability, loose fasteners, and shifting soil around post footings are common factors identified in practical guidance.[4]
How does an anti-sag turnbuckle kit work?
Corner brackets are attached diagonally, and a steel cable connected to a turnbuckle is tensioned to pull the dropped corner back toward square.
Why is framing reinforcement recommended for automatic openers?
Reinforcement helps distribute the push and pull forces of an operator arm across the frame rather than concentrating stress at a single point.
Need how to fix sagging wooden gate?
We’re available now - call for a fast, free estimate.
Sources
- Review of in-service moisture and temperature conditions in … – research.fs.usda.gov (2007)
- HOUSING DURABILITY – JUNE 2002 – huduser.gov (2002)
- [PDF] Review of In-Service Moisture and Temperature Conditions in Wood – fpl.fs.usda.gov
- Moisture Content of Laminated Timbers – fpl.fs.usda.gov
- Decay of Wood and Wood-Based Products Above Ground … – research.fs.usda.gov
Related reading: Automatic Driveway Gate Repair – Call Now-10% Off – On-Site in 60 Minutes – Free Estimate
Related reading: Electric Gate Problems – Call Now-10% Off – Same-Day Service – Free Estimate
Related reading: Fix Sagging Gate | Call Now-10% Off | Same-Day Service | Free Estimate
Frequently Asked Questions
Should I use an anti-sag turnbuckle kit or a solid wood brace to fix a sagging gate?
A solid wood brace works under compression to permanently stiffen framing, whereas a turnbuckle cable kit relies on tension to pull an existing, racked gate leaf back into square. Ironworks Gate Co. recommends tension kits when you need adjustable, ongoing correction for seasonal wood movement without rebuilding the gate frame.
How long should concrete cure before rehanging a gate on a reset post?
Standard concrete footings typically require 24 to 48 hours of initial curing before supporting the cantilevered load of a standard wooden gate. For heavy, wide-span gates, Ironworks Gate Co. advises waiting three to seven days for full compressive strength to prevent the new footing from leaning under weight.
Can a sagging wooden gate cause permanent damage to an automatic opener?
Yes, a dragging or out-of-square gate forces the operator arm to overcome excessive physical resistance, leading to motor burnout and stripped drive gears. If DIY hinge adjustments cannot eliminate the drag, contact Ironworks Gate Co. to reinforce framing points and restore alignment before the automation system fails.
About the author
 |
Sarah Miller Sarah is a seasoned technical writer with over 8 years of experience in the home services industry, specifically focusing on automated gate systems and property access control. She holds a B.A. in Communications from California State University, Fullerton, and works closely with licensed technicians to translate complex mechanical and electrical repair processes into accessible, transparent guides for homeowners and property managers. Her expertise lies in breaking down gate repair costs and maintenance best practices for Southern California residents. |
Gate not opening, off track, or opener dead?
We’re available now - call for a fast, free estimate.
Call Now - Free Estimate